
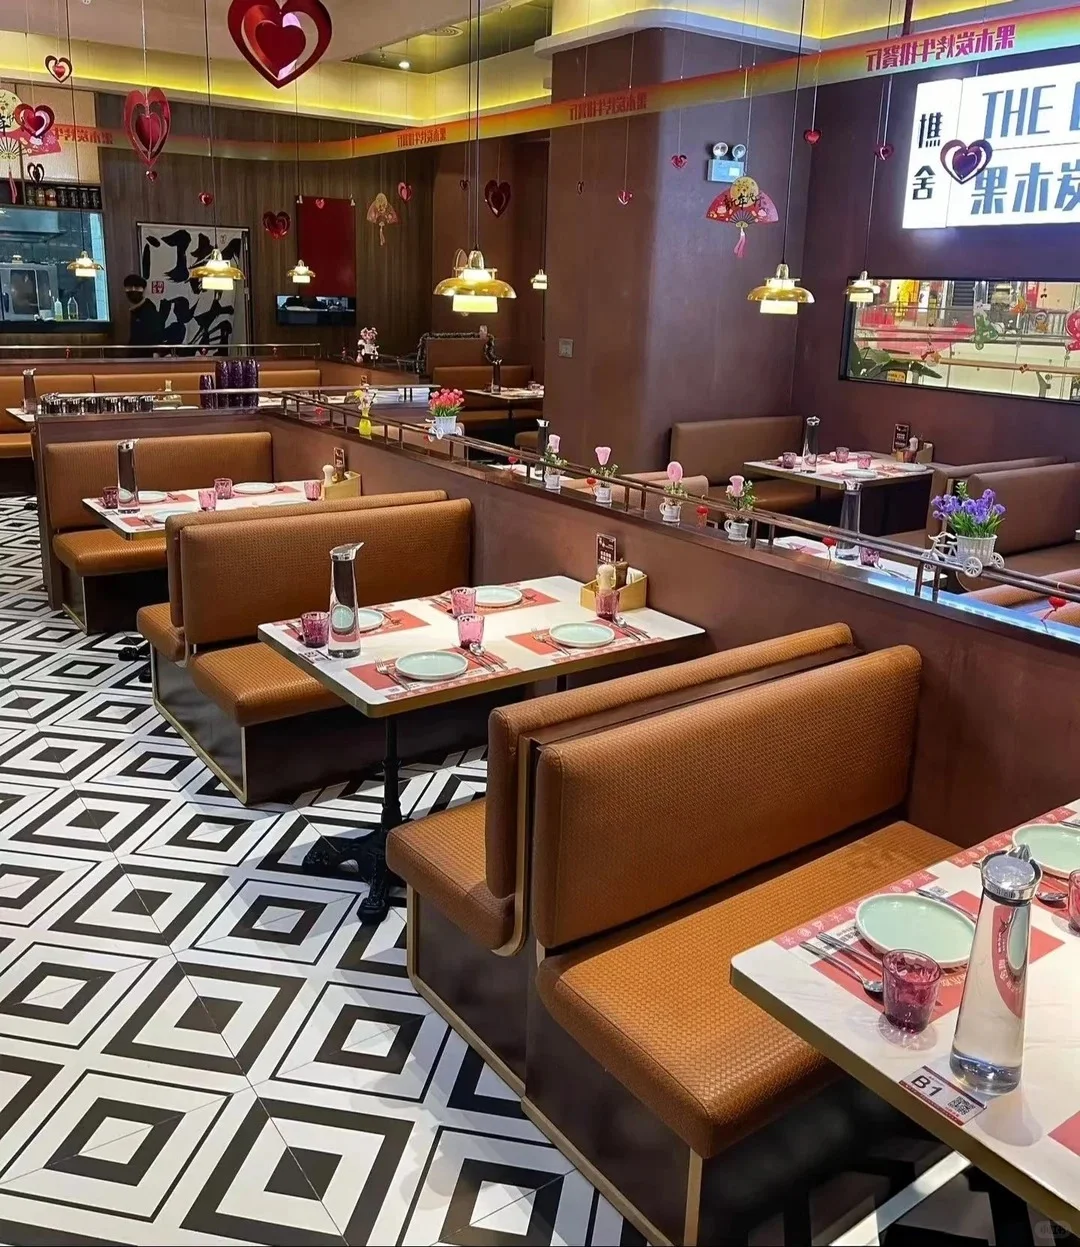
A restaurant booth can look perfectly proportioned in a rendering and still fail during the first lunch service. Guests may struggle to enter, the tabletop may feel too high, or occupied seating may leave less aisle space than the floor plan suggested.
These problems are expensive because booth seating is difficult to adjust after installation. Loose chairs can be moved and tables can sometimes be replaced; a complete run of upholstered booths fixed against a wall is far less forgiving.
Good booth planning therefore begins with the relationship between the guest, seat, table and service aisle—not with the shape of the backrest.
Quick answer: A typical commercial restaurant booth has a finished seat height of approximately 17–18 inches, a usable seat depth of about 16–20 inches and a dining table around 29–30 inches high. These are planning ranges, not universal standards. Final dimensions must suit the table, upholstery, restaurant concept and local requirements.
Restaurant Booth Dimensions at a Glance
The following measurements provide a useful starting point for commercial booth planning.
| Booth element | Common planning range | What should be confirmed |
|---|---|---|
| Finished seat height | 17–18 in / 430–460 mm | Cushion compression and table height |
| Usable seat depth | 16–20 in / 405–510 mm | Back angle, cushion shape and dining duration |
| Overall booth depth | 24–26 in / 610–660 mm | Frame, back padding and wall construction |
| Standard back height | 36–42 in / 915–1070 mm | Privacy, sightlines and interior design |
| High privacy back | 48–60+ in / 1220–1525+ mm | Stability, lighting and ventilation |
| Dining table height | 29–30 in / 735–760 mm | Top thickness and compressed seat height |
| Bench width per guest | Approximately 21–24 in / 535–610 mm | Guest profile, tableware and service style |
| Double-booth footprint | Often 72–80 in / 1830–2030 mm | Seat construction, table width and clearances |
These figures should not be copied directly into manufacturing drawings. Upholstery thickness, frame construction and backrest angle can change how identical nominal dimensions feel in actual use.
A shop drawing should show both the external dimensions and the usable seating dimensions.
Booth, Banquette or Freestanding Bench?
These terms are frequently used as if they mean the same thing, but they produce different layouts.
| Seating type | Description | Main advantage | Main limitation |
|---|---|---|---|
| Restaurant booth | A defined seating bay with facing benches or one bench and loose chairs | Privacy and consistent table modules | Difficult to change after installation |
| Banquette seating | A continuous bench with movable tables and chairs | Flexible for different party sizes | Less separation between groups |
| Freestanding bench | A movable upholstered bench that resembles fixed seating | Easier to reposition or replace | Must be stable enough for commercial use |
A restaurant does not need to choose only one format. Continuous banquettes can provide flexibility along one wall, while a smaller number of enclosed booths create privacy or feature seating elsewhere.
Start With the Table
The table determines how guests sit, eat and enter the booth. Its dimensions should be established before the booth section is approved.
The project team should confirm three groups of information:
- Dining requirements: number of guests, tableware, shared dishes and expected meal duration.
- Table construction: tabletop thickness, base position, apron depth and integrated equipment.
- Operational use: entry space, cleaning access, table movement and service circulation.
A tabletop that is too wide may make entry difficult. A narrow tabletop may not provide enough room for plates, drinks and shared dishes. A poorly positioned pedestal can obstruct guests’ feet even when the tabletop dimensions appear correct.
The safest method is to review a full-size section showing the seat, guest position, table edge, table base and surrounding aisle.
Coordinate Seat Height With Table Height
A booth seat cannot be evaluated independently from its table.
A seat that feels correct in a factory showroom may feel too low when paired with a thick stone top. Upholstered cushions also compress when occupied, so their working height may be lower than the measurement shown on an unloaded sample.
For standard dining, a booth seat height of approximately 17–18 inches is commonly paired with a 29–30-inch table. The final relationship depends on cushion compression, tabletop thickness, apron depth and guest profile.
Before production, the section drawing should identify:
- Finished floor level
- Unloaded seat height
- Estimated occupied seat height
- Underside of the tabletop or apron
- Finished tabletop height
Approving only the external booth height leaves too much room for interpretation.
How Deep Should a Restaurant Booth Seat Be?
A deeper seat is not automatically more comfortable.
If the usable seat is too deep, shorter guests may be unable to use the backrest while keeping their feet supported. If it is too shallow, taller guests may feel uncomfortable during a longer meal.
Commercial booths commonly use a usable seat depth of approximately 16–20 inches. The final result is affected by the backrest:
- A thick vertical cushion reduces usable depth.
- An angled backrest can improve comfort but increases overall booth depth.
- Lumbar padding changes the guest’s sitting position.
- Loose cushions require additional control to prevent movement.
Drawings should distinguish between overall depth and usable seat depth. They should also show back cushion thickness, backrest angle and the distance from the seat edge to the table.
How Much Width Does Each Guest Need?
Approximately 21–24 inches of bench width per guest is a practical starting point, but the restaurant concept matters.
A fast-casual venue may use a more compact module because dining periods are shorter and table settings are smaller. A full-service or premium restaurant may provide more space for comfort, coats and personal belongings.
Capacity should not be calculated from the upholstered bench length alone. Table bases, side walls and decorative end panels can make part of the seat difficult to use.
A bench that appears long enough for three people may function comfortably for only two if the table or pedestal is incorrectly positioned.
Choose Back Height for a Reason
Back height affects privacy, acoustics, staff sightlines and the visual scale of the restaurant.
| Back type | Typical application | Planning considerations |
|---|---|---|
| Low back | Open cafés and casual restaurants | Maintains sightlines but offers limited privacy |
| Standard back | Full-service restaurants, bars and bistros | Balances separation with an open dining room |
| High privacy back | Private dining bays and premium interiors | Requires coordination with lighting, ventilation and structure |
Backs around 36–42 inches suit many commercial projects. Backs above 48 inches can create stronger privacy and acoustic separation, but they behave more like interior partitions.
High backs should be coordinated with wall fixing, lighting, air movement, fire protection, cleaning access, electrical outlets and staff visibility. They should not be added only because they look dramatic in a rendering.
Common Restaurant Booth Configurations
| Booth configuration | Best suited to | Main planning issue |
|---|---|---|
| Single wall booth | Perimeter dining areas | Coordination with loose chairs opposite |
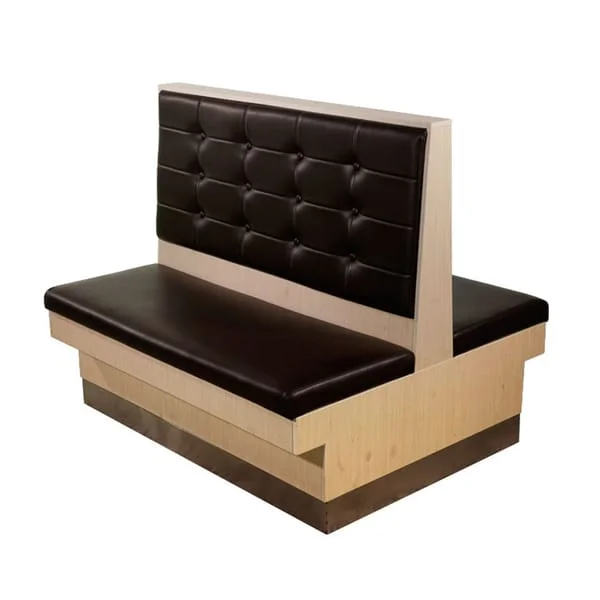
| Double facing booth | Repeated dining bays | Total fixed depth |
| Back-to-back booth | Central seating rows | Future layout flexibility |
| Continuous banquette | Mixed party sizes | Table spacing and separation |
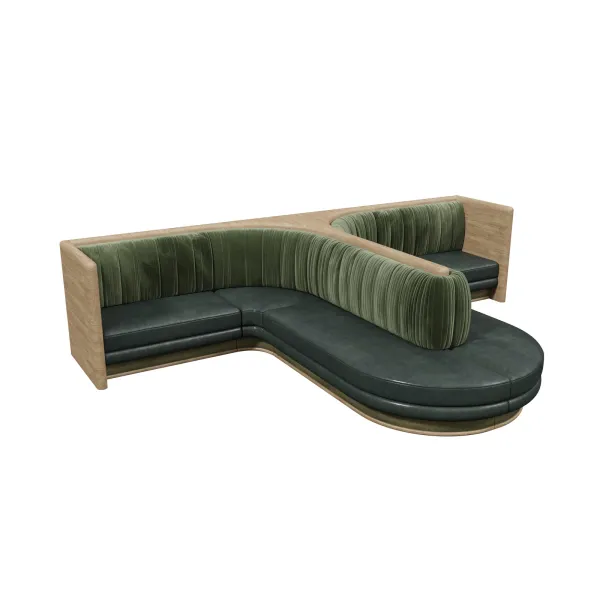
| L-shaped booth | Corners and feature areas | Table access |
| U-shaped booth | Group dining | Entry and exit |
| Circular booth | Feature dining spaces | Space efficiency and production complexity |
| Freestanding booth | Flexible restaurant layouts | Weight and stability |
The most visually interesting shape is not always the most useful. Before approving curved or enclosed seating, test how guests will enter, where bags and coats will go and how staff will reach the far side of the table.
Calculate the Complete Booth Footprint
The footprint includes more than the upholstered seat.
For a wall banquette with loose chairs, planning depth may include the booth frame, usable seat, tabletop, table base, occupied chair and circulation space behind the chair.
For two facing booths, the total depth includes both seats and the table between them. Depending on construction and table width, a complete double-booth arrangement often occupies approximately 72–80 inches.
When checking the floor plan, draw people and loose chairs in the occupied position. Empty furniture outlines can make aisles appear wider than they will be during service.
Test real operating situations:
- A guest enters while another person remains seated.
- A server passes behind an occupied chair.
- Two employees meet in the main aisle.
- A high chair is added to the end of the table.
- A wheelchair user approaches an accessible dining position.
- Staff pull the table forward for cleaning.
If the layout only works when every seat is empty, it is not ready for restaurant service.
Include Accessibility From the Beginning
Accessibility should be included in the first booth layout rather than added after the fixed seating has been planned.
For projects covered by U.S. ADA requirements, at least 5% of seating and standing spaces at dining surfaces must be accessible. Accessible dining surfaces also require appropriate clear floor space, knee and toe clearance and an accessible route. The detailed requirements are available from the U.S. Access Board.
Requirements vary by country, state and municipality, so the project architect or local authority should confirm the regulations that apply.
Accessible dining positions may be incorporated through a removable chair at the end of a banquette, a suitable table base and sufficient approach space. These positions should be distributed naturally throughout the restaurant rather than isolated near the entrance.
Booth Seating or Loose Chairs?
Booths and loose chairs perform different jobs. Most restaurants benefit from a combination.
Booth seating works well when the project needs:
- Efficient use of perimeter walls
- A consistent visual rhythm
- Greater privacy between tables
- Better acoustic separation
- Furniture that remains in a fixed position
- Integration with wall panels or electrical components
Loose tables and chairs work well when the project needs:
- Frequent layout changes
- Flexible party sizes
- Event configurations
- Easy replacement
- Simple floor cleaning
- Shorter design and installation times
An all-booth layout may look organised, but it can limit the restaurant’s ability to respond to different reservations. A mixed layout usually provides a better balance between identity and flexibility.
What Is Inside a Commercial Restaurant Booth?
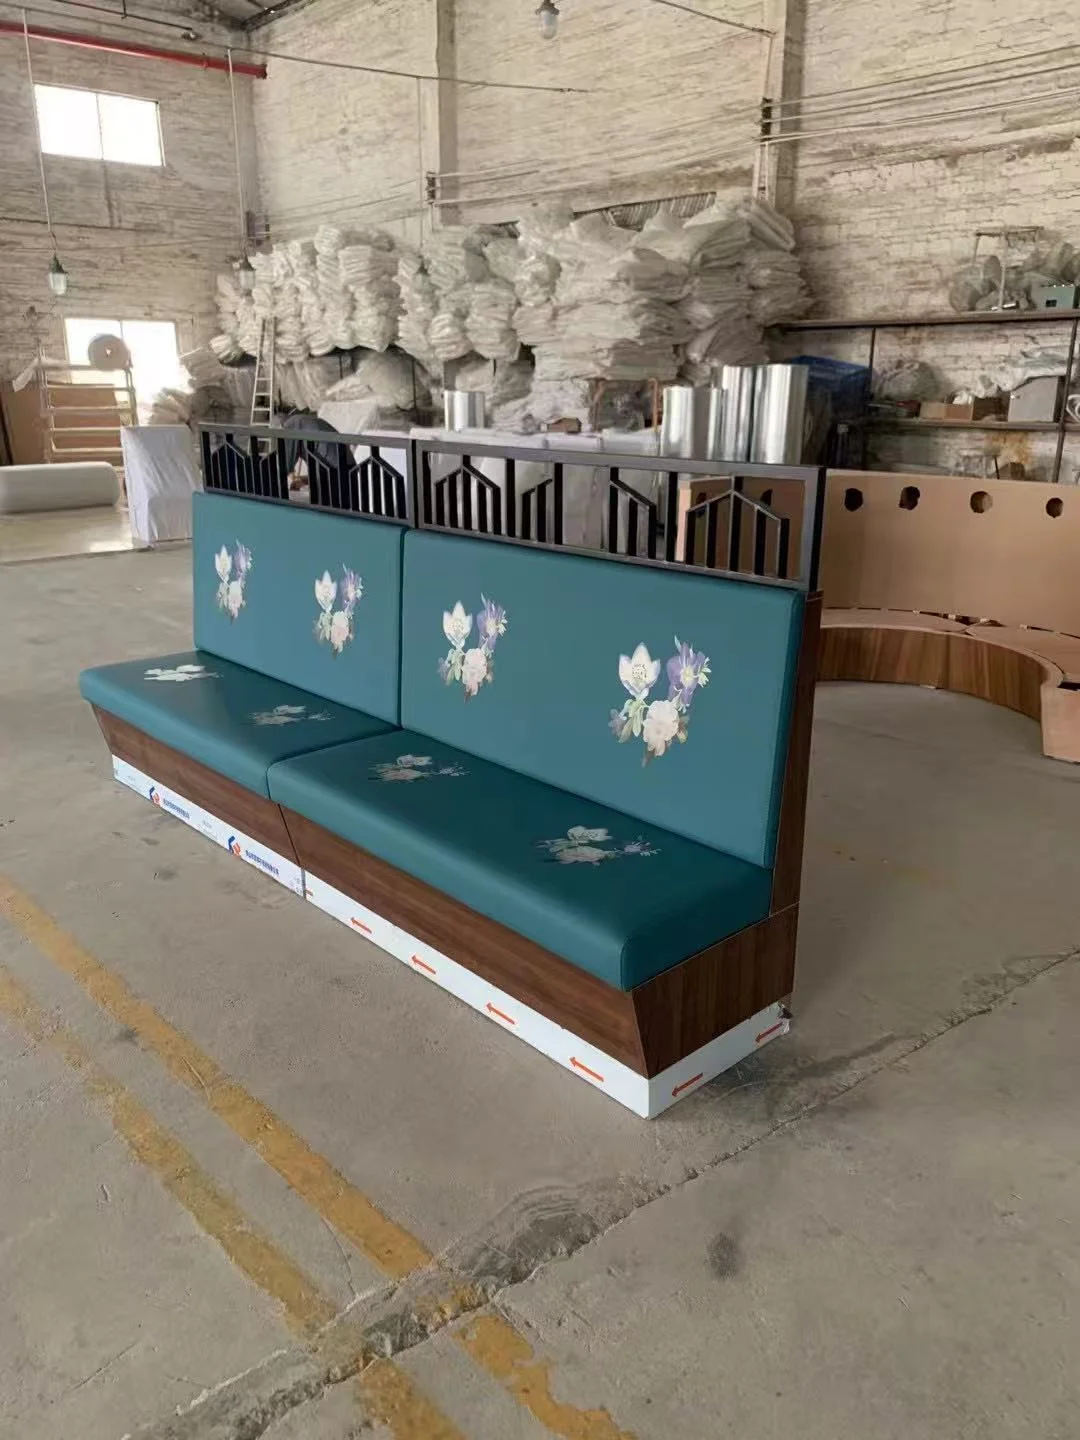
The upholstery is only the visible layer. The frame and internal materials determine whether the booth keeps its shape and remains serviceable.
A complete commercial specification should cover three areas:
- Structure: frame material, structural panels, joints, wall fixing, floor fixing and adjustable glides.
- Comfort: seat support, foam type, foam density, usable depth and back angle.
- Maintenance: upholstery, seam positions, cleaning access, removable panels and replaceable components.
When working with a commercial restaurant booth seating manufacturer, request a booth section drawing rather than approving the product from a front-view rendering alone.
The section reveals the seat height, cushion thickness, back angle, usable depth and frame construction—the details that most directly affect comfort and installation.
Choose Upholstery for the Operating Environment
Restaurant upholstery has to balance appearance, comfort, cleaning and durability.
| Upholstery type | Advantages | Points to check |
|---|---|---|
| Commercial vinyl | Easy to wipe and widely available | Cleaning chemicals, cracking and seam strength |
| Woven fabric | Softer appearance and better acoustic character | Stain resistance and cleaning method |
| Performance upholstery | Commercial durability with varied textures | Product composition and test information |
| Natural leather | Premium appearance and ageing character | Maintenance, consistency and cost |
| Customer-supplied material | Precise coordination with the interior | Width, pattern repeat, quantity and fire requirements |
Avoid approving upholstery from a small digital colour image. Review a physical sample under lighting similar to the finished restaurant.
For large patterns, allow additional material for alignment. For curved booths, confirm that the selected material can follow the shape without wrinkling.
Upholstery Details Affect Maintenance
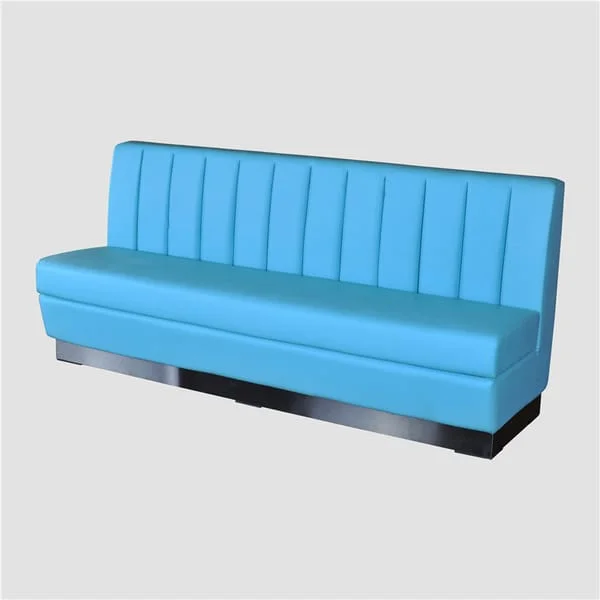
Plain upholstered backs are visually quiet and usually easier to clean. Channel stitching adds rhythm but creates more seams. Deep buttoning and tufting can produce a traditional or luxurious appearance, although recesses may collect crumbs and dust.
The detail should match the restaurant’s maintenance resources.
A useful decision rule is:
The more seams, channels and buttons a booth contains, the more time it will require to manufacture, clean and reupholster.
For high-turnover restaurants, removable seat panels can be more valuable than elaborate decorative stitching.
Wall-Mounted or Floor-Mounted?
Most commercial booths are supported by the floor and may also be fixed to the wall for stability.
Before installation, coordinate:
- Wall and floor construction
- Skirting and baseboard details
- Underfloor heating
- Waterproofing
- Electrical services
- Access panels
- Cleaning requirements
- Finished floor level
A booth should not be fixed through a finished surface until the contractor confirms the location of services and the ability of the substrate to support it.
For renovation projects, final site measurements should be taken after important walls and floors are established. Original architectural drawings may not show uneven walls, unexpected columns or changes in floor level.
Why Full-Size Samples Are Valuable
A material sample can confirm colour, but it cannot show whether the completed booth will be comfortable, stable or correctly positioned in relation to the table.
For larger orders, a full-size prototype allows the project team to evaluate three areas before production:
- Comfort and proportions: seat height, usable depth, back angle, foam firmness and ease of entry.
- Construction quality: frame stability, upholstery seams, edge finishing and overall workmanship.
- Practical use: table position, cleaning access and replaceable upholstered components.
The prototype should be tested with the proposed table and reviewed by sitting in it for several minutes. Even a small adjustment to seat depth, back angle or table position can make a noticeable difference when repeated throughout the restaurant.
Common Booth Planning Mistakes
| Mistake | What happens | How to prevent it |
|---|---|---|
| Measuring only the empty furniture | Occupied aisles become too narrow | Draw guests and chairs in use |
| Approving the booth before the table | The base obstructs feet or entry | Approve both products together |
| Ignoring cushion compression | The table feels too high | Check occupied seat height |
| Making seats excessively deep | Shorter guests cannot use the backrest | Test a full-size section |
| Using one booth size everywhere | Different party sizes become difficult | Mix two-, four- and group seating |
| Adding high backs too late | Lighting and ventilation conflict | Coordinate them as partitions |
| Planning accessibility last | Expensive layout changes are required | Include accessible positions early |
| Using residential upholstery | Premature wear or cleaning damage | Specify commercial materials |
| Making every panel permanent | Repairs require complete removal | Use replaceable sections |
| Relying only on architectural drawings | Booths do not fit actual walls | Complete final site measurements |
Preparing a Restaurant Booth RFQ
A clear request for quotation makes supplier recommendations and pricing more accurate.
Organise the information into four groups:
Project information
Provide the restaurant location, floor plan, seating target, programme and required installation date.
Booth schedule
Identify each booth type, quantity, length, seat height, seat depth, back height and table dimensions.
Material requirements
Include upholstery references, colours, frame construction, foam preferences, stitching details and testing requirements.
Delivery requirements
Confirm the destination, packaging standard, carton labels, installation responsibility and site access.
Use consistent booth references throughout the project:
| Reference | Description |
|---|---|
| B01 | Single wall banquette |
| B02 | Back-to-back booth |
| B03 | Curved corner booth |
| B04 | High-back privacy booth |
The same references should appear on shop drawings, production schedules, cartons and installation plans.
Questions to Ask a Booth Manufacturer
Instead of sending a long list of disconnected questions, group them around the project stages.
- Design: Will you provide dimensioned shop drawings and coordinate the booth with the selected table?
- Construction: What frame, structural panel, foam and upholstery specifications are proposed?
- Approval: Can you provide physical finish samples and a full-size prototype?
- Production: How will dimensions, upholstery patterns and colours be controlled across the order?
- Installation: How is each booth fixed, labelled and matched to its location?
- Maintenance: Can seat panels, back panels, glides and upholstery be replaced separately?
- Delivery: How are upholstered corners protected and how are installation parts packed?
- After-sales support: Can matching components or additional booths be ordered later?
A useful supplier should make the technical decisions clearer rather than simply returning a lower unit price.
Restaurant Booth Seating FAQ
What are standard restaurant booth dimensions?
A typical commercial booth has a finished seat height of approximately 17–18 inches, a usable seat depth of about 16–20 inches and a back height commonly ranging from 36–42 inches. Standard dining tables are normally around 29–30 inches high.
These are planning ranges rather than universal requirements.
How deep is a restaurant booth?
The usable seat may be approximately 16–20 inches deep. The complete booth, including its frame and upholstered back, may project approximately 24–26 inches from the wall.
Back angle and cushion thickness can change both measurements.
How much space is needed for two facing booths?
A complete double-booth arrangement often occupies approximately 72–80 inches from the outside of one booth to the outside of the other. The final dimension depends on seat construction, table width and required clearance.
How wide should a booth be for each guest?
Approximately 21–24 inches of bench width per guest is a common starting point. Premium restaurants and venues with longer dining periods may provide more space.
What height should a restaurant booth table be?
Most dining booth tables are approximately 29–30 inches high. The final height should be coordinated with the occupied seat height, cushion compression and tabletop thickness.
Are booths more space-efficient than restaurant chairs?
Booths can use perimeter walls efficiently and create consistent seating modules, but they are not automatically more efficient in every floor plan. The complete booth, table, aisle and accessibility arrangement must be compared with a loose table-and-chair layout.
What is the difference between a booth and a banquette?
A booth creates a defined seating bay, often with facing benches or one bench and chairs opposite. A banquette is normally a continuous bench used with movable tables and loose chairs.
Can restaurant booth seating be customised?
Yes. Common custom options include length, usable depth, seat height, back height, upholstery, stitching, curved layouts, removable panels and integrated electrical components.
Custom dimensions should be approved through shop drawings and, for larger projects, a full-size sample.
Final Planning Advice
Restaurant booth seating should be treated as a small piece of architecture rather than an oversized chair.
It connects the wall, floor, table, lighting, circulation and guest experience. If one of those relationships remains unresolved, the problem is likely to appear after installation—when it is most expensive to correct.
Begin with the floor plan. Approve the table and booth together. Check circulation with the seats occupied. Include accessible dining positions early. Confirm construction, upholstery, sampling, packaging and installation before production begins.
For custom booth seating, restaurant tables and complete hospitality furniture packages, share your floor plan, dimensions, seating target and project schedule with an experienced restaurant booth seating supplier. A clear technical brief will always produce a more useful proposal than a reference photograph alone.